
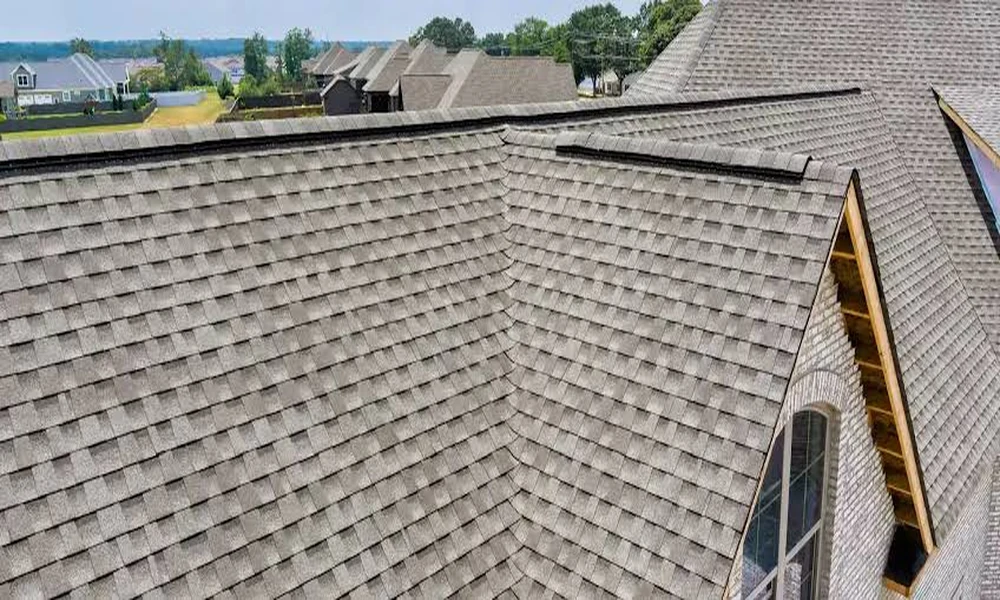
From the street, a new roof looks finished once the last row of shingles goes on. Fresh color, straight lines and a clean ridge tell neighbors the job is done. Yet the shingles are only the top layer, and much of what makes a roof last 20 years or more sits underneath, where nobody will ever see it again after installation day.
That hidden work matters even more in places where the weather pushes roofs hard. Summer attic temperatures can climb past 140 degrees, spring storms bring hail and straight-line winds, and a sudden downpour can drop several inches of rain in an afternoon. Shingles take the beating first, but the layers below decide whether a damaged roof leaks or holds.
Homeowners planning a roof installation in New Braunfels often spend most of their time comparing shingle colors and brands. Those choices matter, but asking how each hidden layer will be handled tells you far more about how the roof will perform. Here is what goes on between the bare rafters and the ridge cap, layer by layer.
Starting With the Deck
The roof deck is the plywood or OSB sheathing nailed across the rafters. On a reroof, it’s the first thing exposed once the old shingles are torn off, and it’s the moment to look for soft spots, delamination, rot near the eaves and gaps from old leaks.
Fastening matters as much as condition. Many older decks were nailed with smooth-shank nails spaced far apart, which leaves panels vulnerable when strong wind creates uplift. Research from the Insurance Institute for Business & Home Safety shows that switching to 8d ring-shank nails and tightening the spacing can double the uplift a roof can withstand. Re-nailing the deck during a tear-off costs little compared with what it prevents.
Replacing damaged sheathing usually shows up on a quote as a per-sheet price, since nobody can know the full count until the old roof comes off. A fair estimate states that unit price up front instead of leaving it open-ended.
The Layer That Catches What Shingles Miss
Underlayment
Underlayment is the water-resistant sheet laid over the deck before any shingle goes down. According to the Asphalt Roofing Manufacturers Association, it should always be used in both new construction and reroofing.
There are three basic types: traditional asphalt-saturated felt, synthetic underlayment, and self-adhering membranes. Felt is the most affordable, but it can wrinkle and tear. Synthetic sheets are lighter, stronger and handle foot traffic and heat better. Self-adhering membranes stick directly to the deck and seal around nail shanks, which makes them the usual choice for valleys, eaves and penetrations.
Sealing the Deck Seams
A newer idea gaining ground is the sealed roof deck. Instead of relying on underlayment alone, installers tape every seam between deck panels or cover the entire deck with a self-adhered membrane. If wind strips away shingles, rain still can’t run through the gaps between sheets of plywood. In IBHS testing that simulated 130 mph winds and 8 inches of rain per hour, a properly sealed deck prevented up to 95 percent of water intrusion.
Edges, Valleys and Every Hole in the Roof
Most leaks start where the roof changes direction or something passes through it. These details take the most skill and get the least attention from homeowners.
Drip edge. This metal strip runs along the eaves and rakes, guiding water into the gutters and away from the fascia. Without it, water wicks back under the shingles and rots the deck edge.
Starter strip. The first row along each edge gets a dedicated starter course with a factory sealant strip. It locks the bottom edge down so wind can’t lift it and peel back the rows above.
Valleys. Where two roof planes meet, water concentrates. Installers line valleys with self-adhering membrane, then finish them as open metal, closed-cut or woven shingle valleys depending on the product and the look.
Flashing. Chimneys, walls, skylights and plumbing vents all need flashing. Step flashing woven into each course along a wall lasts far longer than a bead of caulk or roofing cement pressed into a joint.
Nailing and Ventilation
Shingles carry printed nail lines for a reason. Nails placed too high miss the overlapping layer underneath, and nails driven at an angle or overdriven cut through the mat. Wind ratings on the package assume correct placement, and many manufacturers require six nails per shingle for high-wind warranties.
Ventilation is the other half of a lasting installation. Hot, trapped attic air bakes shingles from below, shortening their life and raising cooling bills. A balanced system pulls cooler air in through soffit vents and lets hot air escape at the ridge. Mixing exhaust types, like a ridge vent paired with powered fans or gable vents, can short-circuit the airflow, so most installers pick one exhaust method and stick with it.
Questions Worth Asking Before Work Begins
A short conversation before signing can reveal how carefully a crew plans to handle these hidden layers:
- Will the deck be re-nailed or only inspected?
- Which underlayment goes on the open field, and which goes in valleys and eaves?
- Is a sealed deck an option, and what would it add to the cost?
- Will old flashing be replaced or reused?
- How will attic intake and exhaust be balanced?
Clear, specific answers usually mean the crew thinks about the roof as a system rather than a layer of shingles.
Seeing the Roof as a System
When storms roll through, the difference between two roofs with identical shingles often comes down to everything beneath them. One sheds wind-driven rain even after losing a few tabs. The other lets water through at the first weak seam, and the damage shows up weeks later as a ceiling stain.
The best time to get these details right is the one moment they’re visible: the day the old roof comes off and the new one goes on. After that, they’re sealed away for decades, quietly deciding how well the house stays dry.
